

FEATURED ARTICLES

No, you don't need true peak limiting.
Here is the alternative:
Do not slam everything against 0.0 dBFS → leave a tiny amount of headroom → use that headroom to rebuild transient detail → put a safety limiter at the end.
Curious how that can work? Read on.
The idea was partly inspired by an old parallel compression technique. One version of the classic Motown vocal trick was to duplicate a vocal, high-pass it, compress it heavily, and blend it back underneath the original.
The original vocal maintains its dynamics, while the compressed high-frequency layer adds clarity, presence, and density. Here is a quick video explaining the Motown approach and how it inspired PARALIMIT.
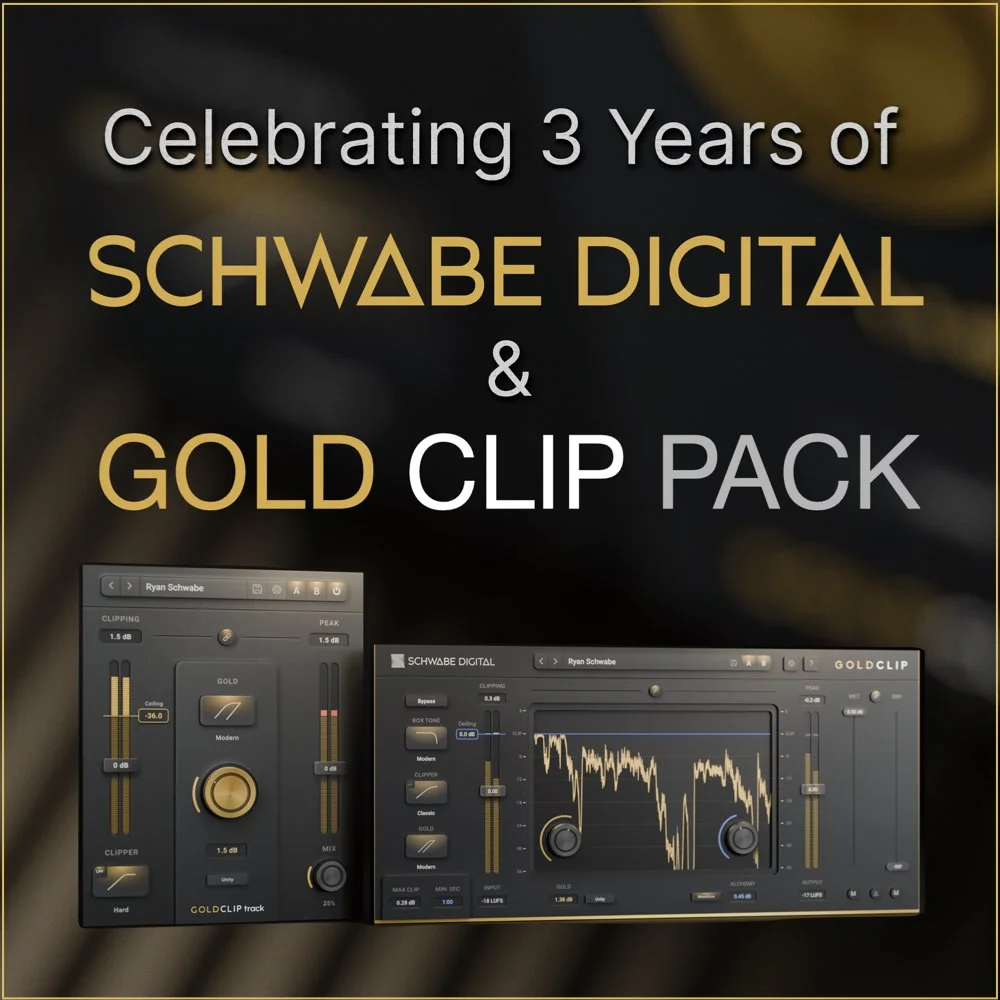
Five years ago, before Schwabe Digital even existed, I was sitting in my bedroom studio in West Philadelphia with some sketches in a notebook and a few transfer curves plotted out in Excel. At some point, I just Googled, “How do you build a plugin?”
It’s been a minute. Between studio work and plugin development, the team has been quietly growing. Researchers, programmers, mathematicians, product specialists and GUI designers all working together on some of the most exciting tools I imagined making.

Resonant suppressors promise smoothness and control. They identify frequency spikes and automatically notch them down with dozens, or sometimes hundreds of narrow, minimum-phase EQ filters. It does its job, but it comes at a cost.

HiFAL is a tool designed to control the tonality, shape, and balance of the high frequencies in your mix.
When deciding where to place HiFAL on the mix bus, it helps to think about how loudness affects balance. As a master gets louder, the mix often feels brighter. This tonal change is dynamic, driven by how loudness processing reshapes high frequency energy in relation to the low end.
We’ve all had a mix that feels great in the studio, but the top end turns brittle the second you play it on a stereo, laptop, earbuds or a phone. The question has always been the same: how do you keep the highs exciting without letting them cross into harshness? Even with today’s most advanced spectral tools, one of the smartest solutions comes from decades ago in a processor few engineers talk about: the acceleration limiter.
Spinning thrift-store vinyl as a kid, I learned the sound of records before I ever understood what compressors or EQs were. Listening beyond the surface noise and crackle, I heard music that felt balanced. The highs never turned harsh, no matter how bright the record was. I could turn it up, lean in, and still feel comfortable.
In this episode of the AGARTHA Podcast, I break down how clippers and limiters shape the sound of modern mixes.

Grammy-winning mixer Craig Bauer shot a new video showing how he uses Orange Clip 3 on an EDM mix.
Instead of just running it on the mix bus, Craig puts Orange Clip 3 to work in multi-band mode on the kick, snare, and hi-hat.
Craig calls Orange Clip 3 a “non-negotiable” tool in his mixes.
You know that endless debate about DAW “sound”? The one where half the internet swears Logic sounds different from Pro Tools, while the other half rolls their eyes and screams “32-bit floating point math is math!”
Plot twist: They are both right. And both wrong.

I sometimes get a lead single that sounds drastically different from the rest of the project. Maybe it was mixed by a different engineer, or just labored over with more detail and intensity. And sometimes, I’m not even told the song is part of a full-length project. Then, weeks later, the rest of the EP or LP shows up—and it’s tough to match tone or loudness because the new material feels completely different.

In our recent emails, we explored how to simplify equalization by working with octaves. If you missed them, you can check out the full breakdown here, where I go through all 10 octaves and share practical tips for approaching each one. But EQ decisions aren’t just technical—they’re shaped by how we hear sound, how listeners interpret it, and our own personal preferences. Balancing these three factors is key to crafting a well-rounded mix, yet it’s often one of the biggest challenges in mixing and mastering.

You have heard me say this before, but as engineers, we tend to overcomplicate things. Occam's Razor suggests that the simplest solution is always the most effective.

This is the first of a three-part email series designed to simplify your approach to EQ and help you make better mixing decisions.
We measure sound frequencies on a logarithmic scale in Hertz (Hz), or cycles per second. While essential for describing audio, this unit can feel abstract and disconnected to how we think about and create music. For example, a frequency of 100 Hz means a sound wave vibrates or oscillates for one full cycle at 100 times per second.
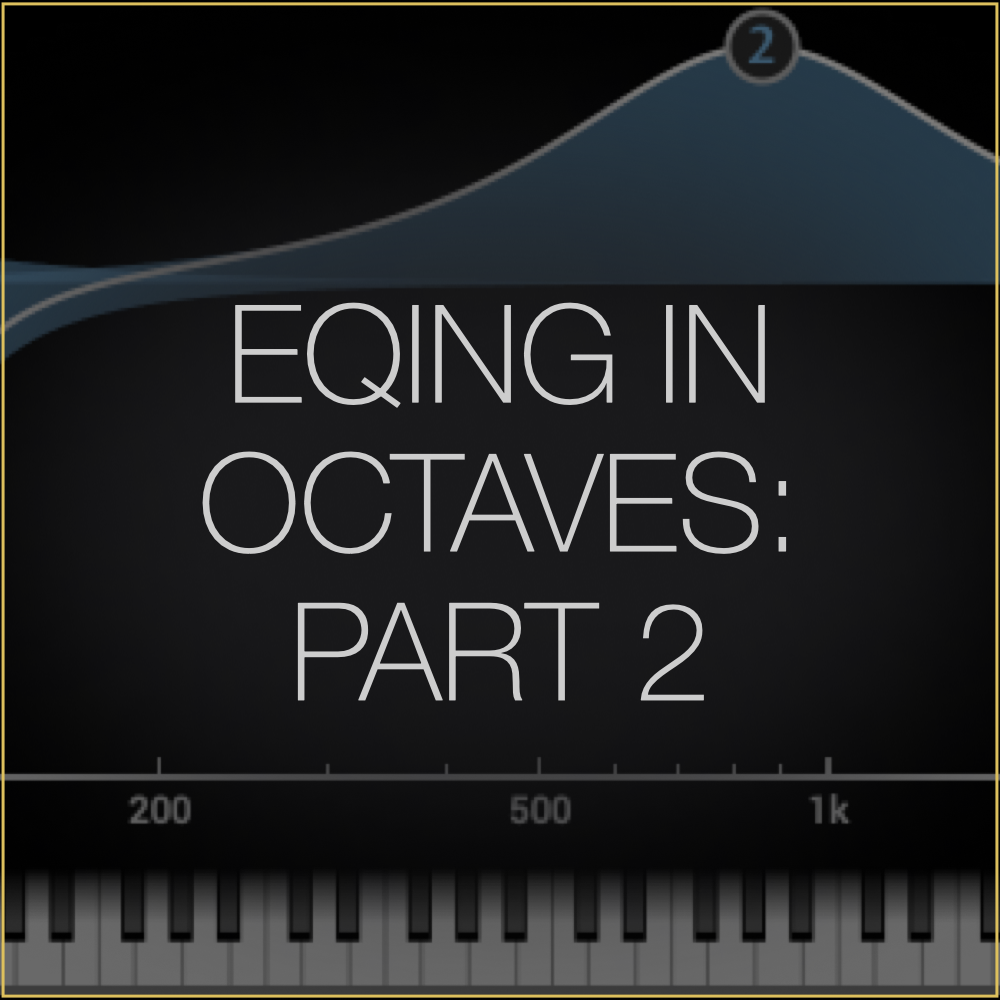
Last time, we explored how thinking in octaves can simplify your EQ process, making it feel more musical and intuitive. Today, we’ll take that concept further by dividing the 10 octaves into 5 key frequency bands—low, low-mids, mids, high-mids, and highs—and discussing how each band shapes our perception of sound. This week, we’ll focus on the first three bands and cover the remaining ones next week. Conveniently, each of the 5 bands spans roughly two octaves. Let’s explore them.

Last week, we explored the lows and mids—the fundamental frequencies that give your mix its weight, warmth, and power. Today, we'll focus on the high-mids and highs, where brightness and articulation live. These frequencies are crucial for bringing excitement and clarity to your mix, but they require precise placement to avoid harshness. Let's talk about how to craft a top end that's clear, balanced, and musical.

I am a minimalist at heart. I want processors that are simple, direct, and powerful. As engineers, we can quickly overcomplicate things.

Back in March of 2024, I did an interview with Devvon Terrell, L.Dre, and Courtney Taylor of the Help Me Devvon / Audio Nerds podcast…
No, you don't need true peak limiting.
Here is the alternative:
Do not slam everything against 0.0 dBFS → leave a tiny amount of headroom → use that headroom to rebuild transient detail → put a safety limiter at the end.
Curious how that can work? Read on.
Resonant suppressors promise smoothness and control. They identify frequency spikes and automatically notch them down with dozens, or sometimes hundreds of narrow, minimum-phase EQ filters. It does its job, but it comes at a cost.
HiFAL is a tool designed to control the tonality, shape, and balance of the high frequencies in your mix.
When deciding where to place HiFAL on the mix bus, it helps to think about how loudness affects balance. As a master gets louder, the mix often feels brighter. This tonal change is dynamic, driven by how loudness processing reshapes high frequency energy in relation to the low end.
We’ve all had a mix that feels great in the studio, but the top end turns brittle the second you play it on a stereo, laptop, earbuds or a phone. The question has always been the same: how do you keep the highs exciting without letting them cross into harshness? Even with today’s most advanced spectral tools, one of the smartest solutions comes from decades ago in a processor few engineers talk about: the acceleration limiter.
Spinning thrift-store vinyl as a kid, I learned the sound of records before I ever understood what compressors or EQs were. Listening beyond the surface noise and crackle, I heard music that felt balanced. The highs never turned harsh, no matter how bright the record was. I could turn it up, lean in, and still feel comfortable.
Grammy-winning mixer Craig Bauer shot a new video showing how he uses Orange Clip 3 on an EDM mix.
Instead of just running it on the mix bus, Craig puts Orange Clip 3 to work in multi-band mode on the kick, snare, and hi-hat.
Craig calls Orange Clip 3 a “non-negotiable” tool in his mixes.
You know that endless debate about DAW “sound”? The one where half the internet swears Logic sounds different from Pro Tools, while the other half rolls their eyes and screams “32-bit floating point math is math!”
Plot twist: They are both right. And both wrong.
I sometimes get a lead single that sounds drastically different from the rest of the project. Maybe it was mixed by a different engineer, or just labored over with more detail and intensity. And sometimes, I’m not even told the song is part of a full-length project. Then, weeks later, the rest of the EP or LP shows up—and it’s tough to match tone or loudness because the new material feels completely different.
In our recent emails, we explored how to simplify equalization by working with octaves. If you missed them, you can check out the full breakdown here, where I go through all 10 octaves and share practical tips for approaching each one. But EQ decisions aren’t just technical—they’re shaped by how we hear sound, how listeners interpret it, and our own personal preferences. Balancing these three factors is key to crafting a well-rounded mix, yet it’s often one of the biggest challenges in mixing and mastering.
You have heard me say this before, but as engineers, we tend to overcomplicate things. Occam's Razor suggests that the simplest solution is always the most effective.
This is the first of a three-part email series designed to simplify your approach to EQ and help you make better mixing decisions.
We measure sound frequencies on a logarithmic scale in Hertz (Hz), or cycles per second. While essential for describing audio, this unit can feel abstract and disconnected to how we think about and create music. For example, a frequency of 100 Hz means a sound wave vibrates or oscillates for one full cycle at 100 times per second.
Last time, we explored how thinking in octaves can simplify your EQ process, making it feel more musical and intuitive. Today, we’ll take that concept further by dividing the 10 octaves into 5 key frequency bands—low, low-mids, mids, high-mids, and highs—and discussing how each band shapes our perception of sound. This week, we’ll focus on the first three bands and cover the remaining ones next week. Conveniently, each of the 5 bands spans roughly two octaves. Let’s explore them.
Last week, we explored the lows and mids—the fundamental frequencies that give your mix its weight, warmth, and power. Today, we'll focus on the high-mids and highs, where brightness and articulation live. These frequencies are crucial for bringing excitement and clarity to your mix, but they require precise placement to avoid harshness. Let's talk about how to craft a top end that's clear, balanced, and musical.
I am a minimalist at heart. I want processors that are simple, direct, and powerful. As engineers, we can quickly overcomplicate things.

A while back, I had the pleasure of being interviewed by the legendary author Bobby Owsinski on his podcast,
Back in March of 2024, I did an interview with Devvon Terrell, L.Dre, and Courtney Taylor of the Help Me Devvon / Audio Nerds podcast…

A few weeks back, my friend Ken Lewis asked me to make a video about how I use Gold Clip and Orange Clip for his Mixing Night Podcast. I decided to throw that video on my YouTube page and share it with you.

As a mastering engineer, I’m often handed mixes that are already limited or clipped. These loud, finalized mixes can be tricky to work with because there’s often very little headroom or transient detail left. What I do as a mastering engineer involves envelope or dynamic shaping just as much as balancing, sweetening, and preparing a mix for distribution.

It is coming up on a year since my Grammy nomination for Best Engineered Album, Non-Classical for mixing and mastering Baynk’s Adolescence. When it happened, I was attending the Audio Developers Conference in London on November 12th, 2022.

You never know whether a record you are working on is going to be a hit or not. I have tried to predict it and sometimes I was right, but most of the time I had no idea what was going to catch the attention of the world. Honestly, when you start working on a record that turns out to be a hit, it doesn’t feel very different than what you have done before.

Mixing and mastering records for a living means that you will be working long hours, and those hours often bleed into your personal life…
INTERVIEWS
In this episode of the AGARTHA Podcast, I break down how clippers and limiters shape the sound of modern mixes.

I recently spoke to Mike Indovina of the Master Your Mix Podcast about how you can use clipping to your advantage.
A while back, I had the pleasure of being interviewed by the legendary author Bobby Owsinski on his podcast,
Back in March of 2024, I did an interview with Devvon Terrell, L.Dre, and Courtney Taylor of the Help Me Devvon / Audio Nerds podcast…
HiFAL 2 (High Frequency Acceleration Limiter, pronounced “High Fall”) brings a classic vinyl mastering technique into the modern era. Using an often overlooked approach to high-frequency processing, HiFAL 2 lets you shape brightness, transient detail, and stereo image as subtly or aggressively as your mix needs. Designed for the mix bus, HiFAL 2 is jsut as useful anywhere in your mix where high frequencies need attention.
HiFAL 2 has two processing sections: the Main high-frequency acceleration limiter and the Parallel Limiter, called PARALIMIT. The Main processor includes a Dry/Wet control in the footer for blending the processed and unprocessed signals. PARALIMIT operates as a separate parallel processing path alongside the Main processor. Each section can be turned on or off using the power button in the bottom-right corner of its section.
The idea was partly inspired by an old parallel compression technique. One version of the classic Motown vocal trick was to duplicate a vocal, high-pass it, compress it heavily, and blend it back underneath the original.
The original vocal maintains its dynamics, while the compressed high-frequency layer adds clarity, presence, and density. Here is a quick video explaining the Motown approach and how it inspired PARALIMIT.
The input meter in HiFAL shows the level of the filtered input signal. For example, if the Low Frequency Crossover Flag is set to 2.5kHz and the High Frequency Crossover Flag is bypassed, the meter only reflects the amplitude of frequencies above 2.5kHz.
As you raise the Low Frequency Crossover Flag, you’ll likely see a drop in the meter reading, since higher frequencies usually have lower amplitude. While it’s uncommon for an input meter to reflect a filtered signal, it makes sense here because HiFAL applies dynamic processing to an isolated frequency band.
HiFAL can operate in either LR (Left/Right) or MS (Mid/Side) mode, giving you different ways to control high-frequency dynamics across the stereo image. When switching modes, both the input and gain reduction meters update between LR and MS.
HiFAL 2 uses a sophisticated, sample-by-sample approach to compression that dynamically adjusts attack and release times based on the amount of gain reduction. While computationally intensive, this process results in exceptionally smooth and transparent high-frequency limiting. As gain reduction increases, the attack and release accelerate in response to the signal. This dynamic movement is the core idea behind HiFAL: a high frequency limiter that doesn’t just react, but adapts in real time.
Because the timing constantly changes in response to the input signal and threshold, HiFAL does not offer user-definable attack and release controls. Fixed values wouldn’t behave meaningfully in this context. Instead, HiFAL delivers natural-sounding dynamic control without too much manual adjustment.
Visualizing gain reduction can strongly influence how we make decisions while listening. Because visual perception often takes precedence over auditory perception, the way an effect looks on meters can shape how we hear it and how we use it in a mix or master. This mismatch is similar to the McGurk effect, where what we see can actually overrides what we hear.
Trim applies up to +6dB or -6dB of gain to the HiFAL process band. While simple, this control is essential for rightsizing high frequencies within a mix or sound. When using high frequency acceleration limiting, two key factors come into play:
HF Dynamics – set by how much limiting occurs
HF Loudness – the level of the high band relative to the rest of the mix.
The main HiFAL and Parallel Limiter modules include both Low Frequency and High Frequency Crossover Flags. These define the process band and are adjustable from 1 kHz to 20 kHz, with built-in logic that maintains at least half an octave of separation between them. If one flag moves too close to the other, the system automatically adjusts to preserve spacing.
This is one of my favorite additions to HiFAL. I was initially worried that big gain reduction meters might influence how I compress, so I kept them minimal. The Tonal Balance Display is the opposite—I made it large and visually dominant on purpose.
We have already looked at the idea behind PARALIMIT and its M, LR, and S channel modes. Now I want to get into how the processor actually works and how I use its controls.
PARALIMIT isolates a mid or high-frequency band, applies acceleration limiting, and blends that processed signal back in parallel with the Main HiFAL processor.
HiFAL includes an external sidechain input, labeled EXT at the top of the plugin. This lets you patch in an external signal to control the key input of both the main and parallel limiter.
When active, the EXT side-chain replaces the input as the trigger for compression. Gain reduction follows the filter settings and is applied in response to the external signal. This lets you use techniques like instrument ducking to unmask one track, apply frequency-based shaping, or create side-chain-driven midrange s

GOLD CLIP is much more than just another clipper.
Gold Clip Pack is a family of plugins designed to bring loudness, saturation, and energy to your mixes and masters. It includes both a Mastering Clipper and a Track Clipper, powered by the same advanced internal technology. With unique features like Boxtone, the digital tape-style dynamic processor Alchemy, a parallel mixer, and anti-overshoot oversampling, these tools help you craft mixes and masters with loudness and impact.
This is a simple, straightforward way to use GOLD CLIP for mixing and mastering in any genre.
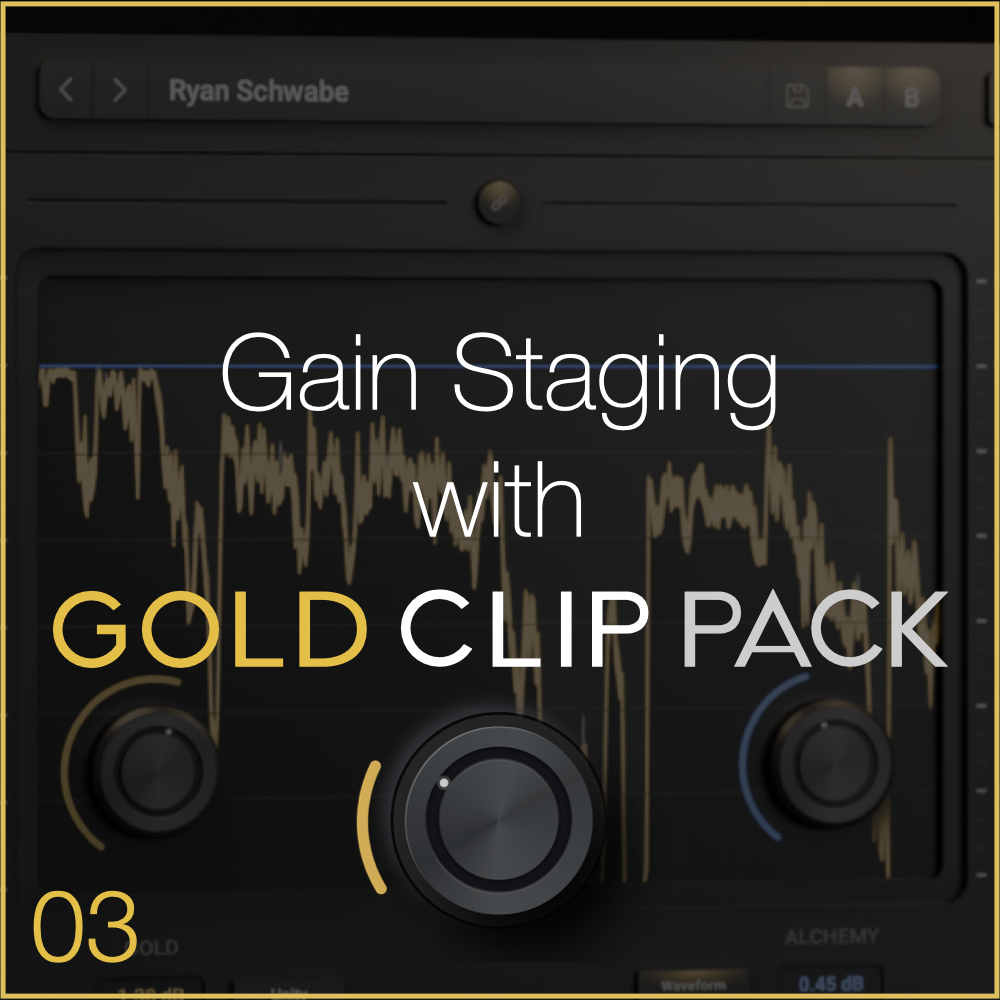
Don't be intimidated. While the internal gain staging of GOLD CLIP is complex, the functionality on the interface is very simple. Once you understand it, you'll be ready to use the plugin in any scenario.
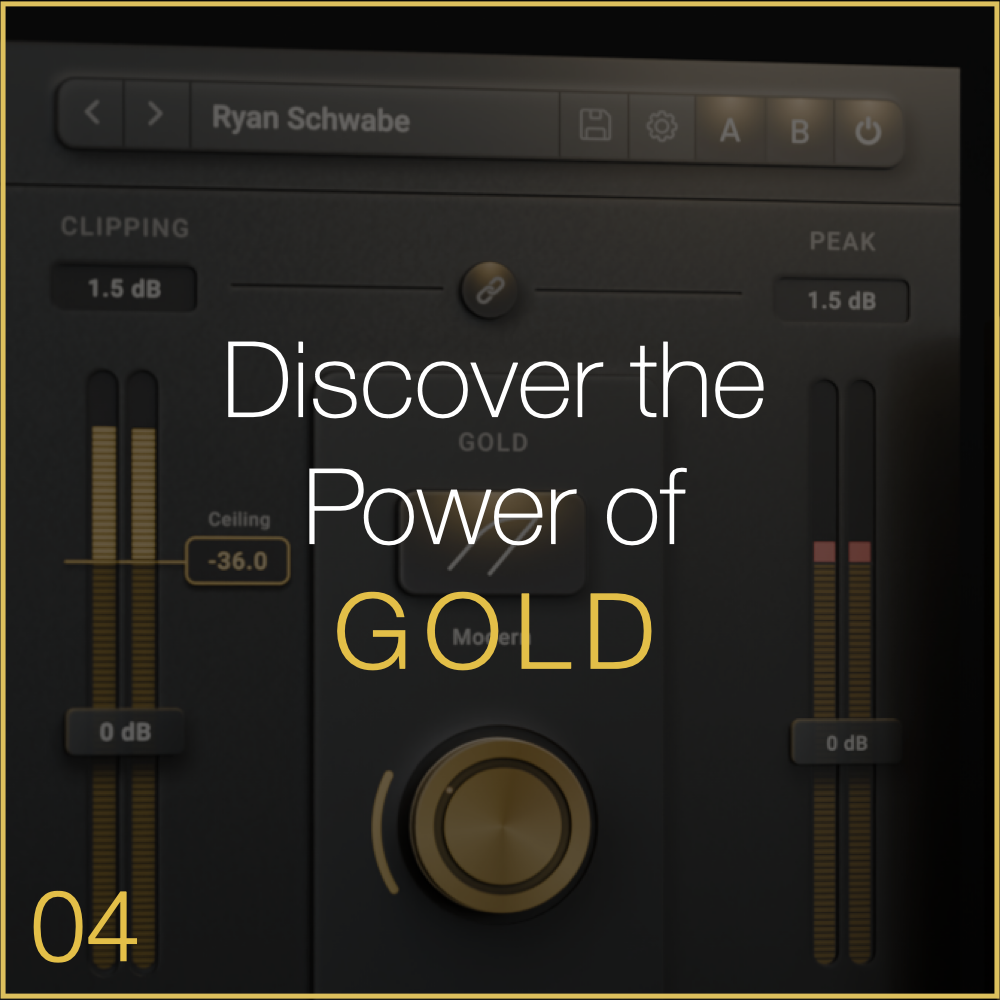
The namesake of GOLD CLIP, this feature is fundamentally different than a traditional compressor. Instead of an attack and release time, Gold performs a sample-by-sample analysis of the input and applies a non-linear gain to the signal.

In medieval times, people believed in "alchemy": a fictional process that could supposedly transform mundane materials into precious gold. Sadly, it doesn't exist...
But in GOLD CLIP, it does :)
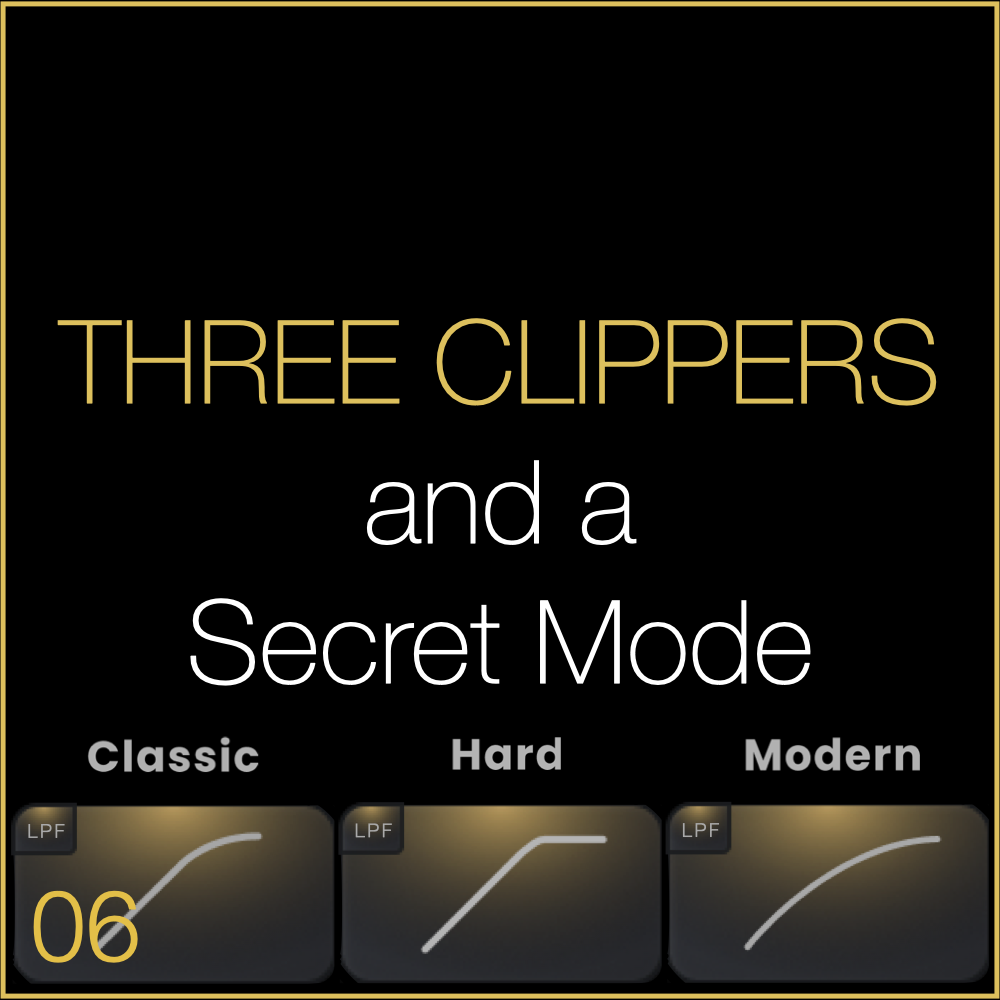
You probably already have seen that GOLD CLIP has three unique clipper algorithms: Modern, Classic, and Hard.

Clip Clock is very simple idea, but a powerful tool that is unique to Gold Clip. It does two things.

Box Tone is one of the more subtle processors on GOLD CLIP, but I often find it helpful when I want to smooth out the top end of digital recordings. In effect, Box Tone is a hyper-sonic low-pass filter that cleans up some of the digital ugliness on the very top of a mix.

In my mixing I use a lot of parallel processing. Parallel compression, distortion, modulation, and obviously time-based effects. The benefit of using parallel processing is …

Did you know that GOLD CLIP's meters and waveform display scaling can be magnified?
The default scaling is +6 dBFS -> -36 dBFS, but if you double-click the scale …

Oversampling is a passionate subject for a lot of people, but I believe many spend far too much time thinking about it.
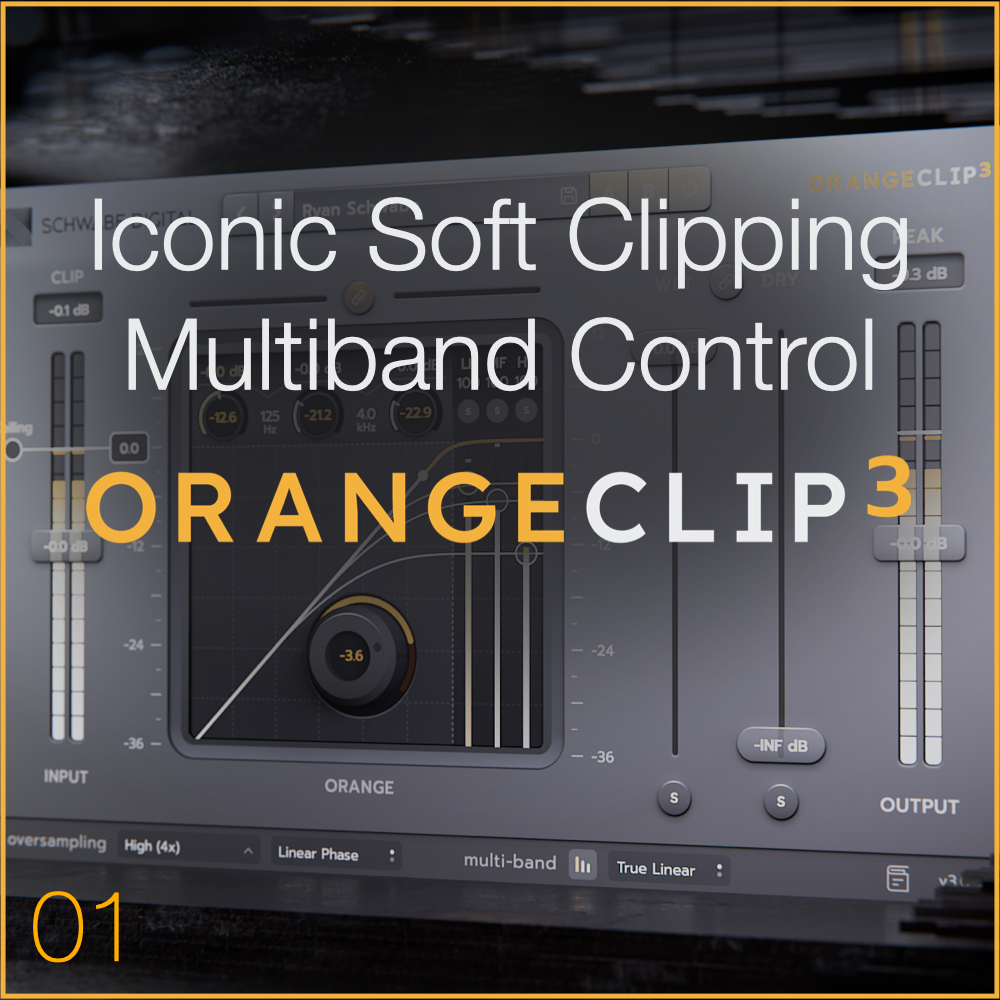
ORANGE CLIP 3 is inspired by the unique stock clipper found in one of the most legendary digital audio workstations for modern music production.The clipper itself is simple, but it has a bold and unique sound that you have heard in many modern productions. It inflates low frequencies, crunches highs, and smooths the mid-range in a relaxed and pleasing way.

When you first insert ORANGE CLIP 3, it presents itself as an intuitive, straightforward tool that hardly requires a manual. At its core is the ORANGE knob—prominently placed in the center—your primary control for shaping the sound.

In the last few emails, I shared a bit about why I built Orange Clip, its sound, and some basics of its functionality. Today, I want to dive deeper into our straightforward and powerful multi-band setup. The simplicity and power of our multi-band design are what make Orange Clip 3 truly unique, and understanding it is key to unlocking its full potential.
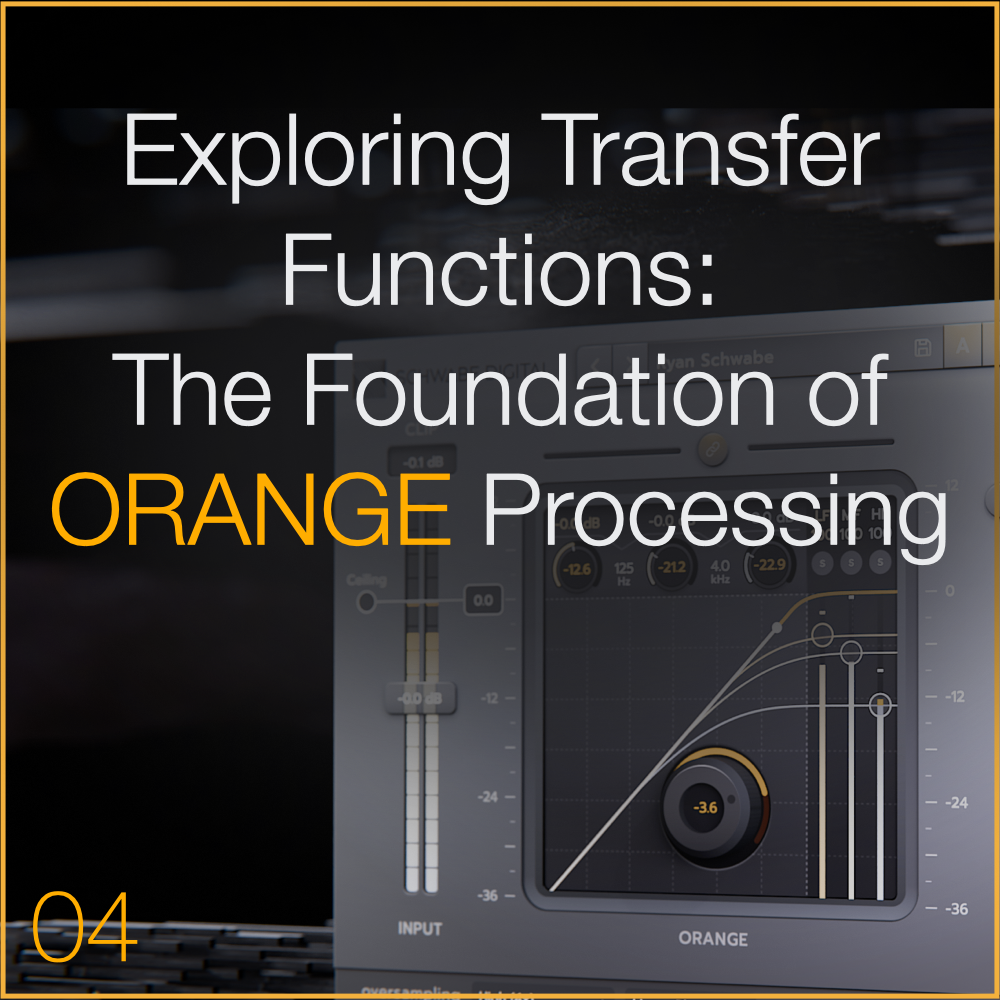
To understand what a wave shaper is, it's essential first to learn how to read a transfer function. A transfer function visually represents the relationship between the input signal and the output signal in a non-linear process like Orange Clip 3.

Wave shaping is a process that alters the shape of an audio waveform to create tonal changes or introduce distortion. It works by applying a transfer function, which defines how input signal levels are transformed into output signal levels. This can result in subtle harmonic enhancement or aggressive distortion, depending on the curvature of the transfer function. The key to effective wave shaping is controlling this curve to achieve the desired sonic character without unwanted artifacts.

In the last email, we introduced how wave shaping works. Now, let’s take a closer look at the ORANGE knob in Orange Clip and how it controls the size and shape of the wave shaping applied to your track. Think of it like a compressor threshold: it determines where wave shaping begins, measured downward from the clip ceiling.

Let’s take a closer look at key commands, controls and displays in Orange Clip 3, and how they impact your workflow.

Orange Clip 3 features four versatile distortion circuits, each capable of dry/wet blending. The three band-based clippers can be blended individually with a traditional dry/wet mix, while the main clipper processes their combined output before passing through the true parallel mixer. This layered approach unlocks endless creative possibilities. Below, we’ll explore some of these features in action.

Both Gold Clip and Orange Clip are designed to deliver a consistent sound, regardless of your DAW's sample rate. To achieve this, the oversampling rate dynamically adjusts based on the session's sample rate. This ensures that High, Pristine, and Extra Pristine modes sound identical, no matter the sample rate you’re working with. Let me explain how it works.

We spent a year researching, testing, and refining our filterbank technology. Our expectations were ambitious: we set out to create a truly linear phase filter bank with minimal pre-ringing, ultra-low latency, and exceptional CPU efficiency—essentially, everything without compromise.

We spent a lot of time trying to determine the exact mathematical equation that makes ORANGE CLIP 3 sound so good, and that equation matches its inspiration in every detail: dynamics, harmonics, and overall tone.
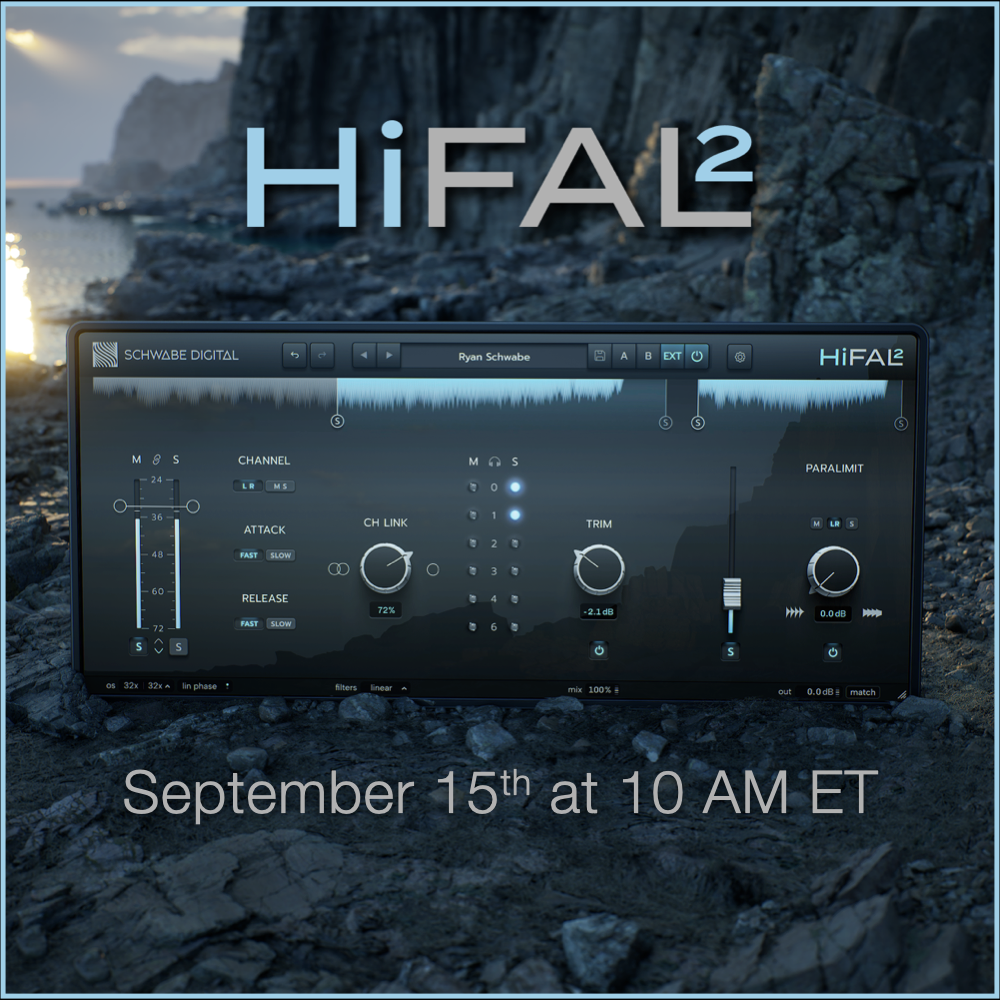
HiFAL 2 is Coming.
The concept is the same, but pretty much everything underneath it is new.
HiFAL 2 introduces SchwabeCore, a completely rebuilt filter bank with new filter modes, and a new approach to high-frequency stereo imaging using HiFAL’s acceleration limiting.
We also refined the interface and added some new tools, while keeping HiFAL simple and easy to use.
HiFAL 2 is a FREE UPDATE for all HiFAL owners and Rent-to-Own users. It uses the same license, and all your existing sessions will recall exactly as they should.
HiFAL 2 will be available September 15th at 10 AM ET.
More soon.
Five years ago, before Schwabe Digital even existed, I was sitting in my bedroom studio in West Philadelphia with some sketches in a notebook and a few transfer curves plotted out in Excel. At some point, I just Googled, “How do you build a plugin?”
It’s been a minute. Between studio work and plugin development, the team has been quietly growing. Researchers, programmers, mathematicians, product specialists and GUI designers all working together on some of the most exciting tools I imagined making.

Start your free 30-day trial and see how easy it is to set up HiFAL on your mix bus in 6 simple steps.

HiFAL (pronounced High Fall) adapts a classic vinyl-era mastering technique for modern mixing and mastering. It’s a smart, adaptive, and transparent high-frequency acceleration limiter capable of smoothing brightness without dulling the mix. Powered by our adaptive attack and release technology, transients stay natural while harsh peaks are tamed without losing their shape. On the mix bus, in mastering, or on individual tracks, it delivers bright, clean, controlled top end beyond what typical EQs, suppressors, and compressors are capable of.


We have two simple yet very useful FREE updates for you. Surgical clipping and right-click to solo!

The all-new GOLD CLIP PACK 2025.2 is HERE!
We’ve made oversampling easier—no more digging through menus. Now, it’s right there in the new Schwabe Digital Footer, just like in Orange Clip 3. A smoother, more intuitive experience for making the nuanced decisions that oversampling requires.
This update includes a fix for M4 Macs and other small improvements as well.

The all-new ORANGE CLIP 3 is HERE!
Orange Clip 3 redefines multi‐band clipping with a groundbreaking linear phase filter-bank, unrivaled routing capabilities, and an intuitive workflow. Fully reverse compatible with OC1, Orange Clip 3 is a seamless upgrade that installs without the need for reauthorization and still appears in your DAW as "Orange Clip." However, it is anything but the same; this powerful upgrade empowers you to push the boundaries of clipping, distortion, and tone shaping, unlocking endless creative possibilities for your mixes.

We have exciting news for GOLD CLIP users!
To show our appreciation for your support, we're upgrading all Gold Clip users to the new GOLD CLIP PACK!
Gold Clip Pack includes the original Gold Clip that you know and love, plus the FREE add-on plugin, GOLD CLIP track.

We’ve got some exciting news to share... We’ve gone through the entire codebase for both the Mac and Windows versions of Gold Clip, hunting for every possible efficiency. We analyzed every element and made improvements to enhance stability and performance—and the results are exceptional!

Alchemy is a high-frequency dynamic processor intended to soften the harshness that clipping can cause. We designed Alchemy when we originally built Gold Clip, and it sounds excellent, but the mastering engineer in me believes that everything in audio can be improved. So, we made Alchemy 2.

We have been working very hard to make major upgrades to both Orange Clip & Gold Clip. Log in to your Schwabe Digital account and download your free Orange Clip update today!

Below are some legendary engineers that are making music with a little help from Gold Clip. Read how they are using it and take a listen.

From launch to legend, GOLD CLIP has come a long way in one year. Several months before the release, I started an Instagram to talk my way through the making of Gold Clip.


Today marks the 6-month anniversary for the release of GOLD CLIP. I want to take this time to thank you all for the support and love you have shown.
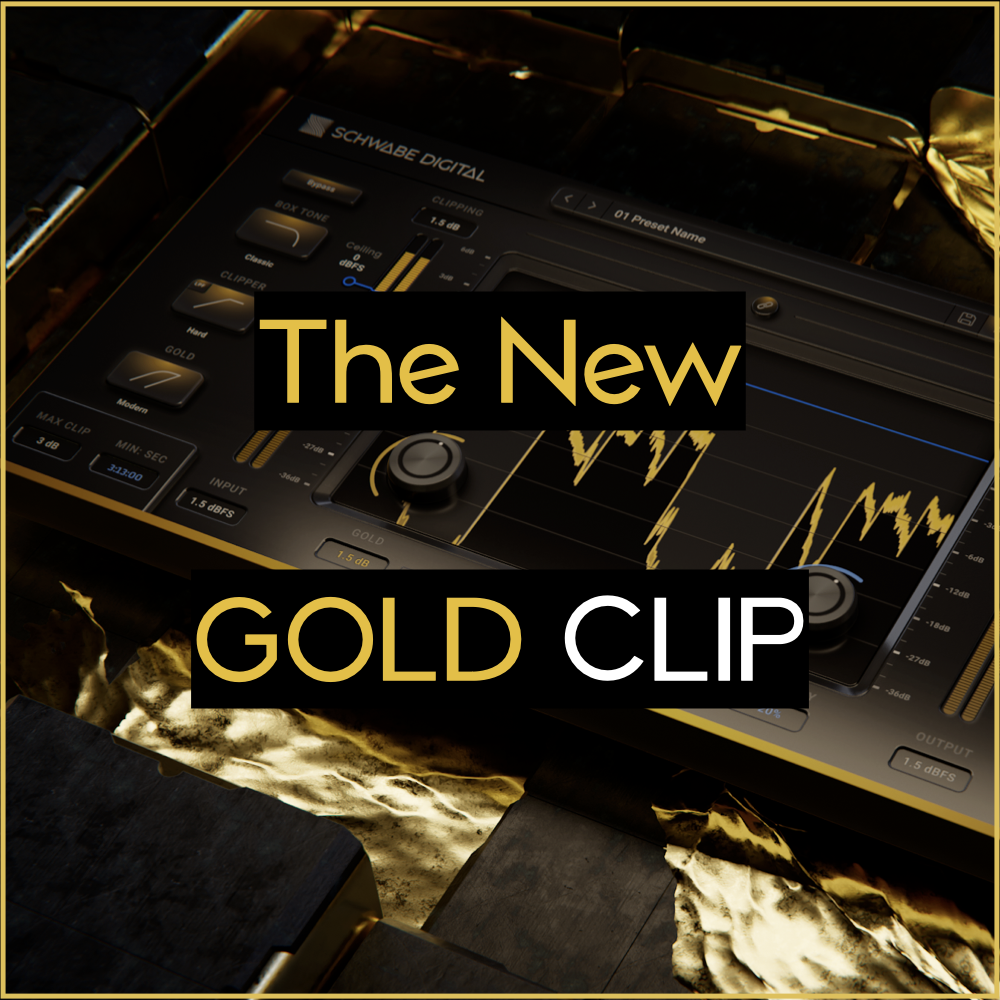
We have an updated interface, new oversampling options, a new downsampling filter technique, and some long-requested new features.

Open the iLok app, click your account name at the top left.
Select "Available" at the top and then locate the Schwabe Digital iLok asset.
Activate the asset by dragging it to your iLok key or computer. Or, Right-click on the asset and select activate.
HiFAL 2 is Coming.
The concept is the same, but pretty much everything underneath it is new.
HiFAL 2 introduces SchwabeCore, a completely rebuilt filter bank with new filter modes, and a new approach to high-frequency stereo imaging using HiFAL’s acceleration limiting.
We also refined the interface and added some new tools, while keeping HiFAL simple and easy to use.
HiFAL 2 is a FREE UPDATE for all HiFAL owners and Rent-to-Own users. It uses the same license, and all your existing sessions will recall exactly as they should.
HiFAL 2 will be available September 15th at 10 AM ET.
More soon.