
Free 30-Day HiFAL Trial + Setup Guide

Start your free 30-day trial and see how easy it is to set up HiFAL on your mixbus in 6 simple steps.
Load the default preset and play a moderately loud section of your song. Right-click the crossover flag at the top of the plugin to solo the processing band, then set the range you want to control.
Adjust the threshold until the first 0 dB bulb pulses lightly, adding subtle compression on the highs.
Dial in acceleration timing (slow vs. fast adaptive attack & release) to shape how the limiter reacts to transients.
Adjust CH LINK to hear how linked vs. unlinked gain reduction affects stereo imaging. Listening to the gain reduction delta makes it easier to hear how the stereo image is being affected.
Balance the overall tone with the Trim knob. If the mix feels dark, add top end. If it’s too bright, pull the highs back.
Blend in the parallel limiter to add controlled brightness and mid / high-frequency density.
Be well,
Ryan Schwabe
Grammy-nominated and multi-platinum mixing & mastering engineer
Founder of Schwabe Digital
Tag me on my @SchwabeDigital instagram and let me know what you think..

Resonant suppressors promise smoothness and control. They identify frequency spikes and automatically notch them down with dozens, or sometimes hundreds of narrow, minimum-phase EQ filters. It does its job, but it comes at a cost.

HiFAL is a tool designed to control the tonality, shape, and balance of the high frequencies in your mix.
When deciding where to place HiFAL on the mix bus, it helps to think about how loudness affects balance. As a master gets louder, the mix often feels brighter. This tonal change is dynamic, driven by how loudness processing reshapes high frequency energy in relation to the low end.
We’ve all had a mix that feels great in the studio, but the top end turns brittle the second you play it on a stereo, laptop, earbuds or a phone. The question has always been the same: how do you keep the highs exciting without letting them cross into harshness? Even with today’s most advanced spectral tools, one of the smartest solutions comes from decades ago in a processor few engineers talk about: the acceleration limiter.

Spinning thrift-store vinyl as a kid, I learned the sound of records before I ever understood what compressors or EQs were. Listening beyond the surface noise and crackle, I heard music that felt balanced. The highs never turned harsh, no matter how bright the record was. I could turn it up, lean in, and still feel comfortable.

Grammy-winning mixer Craig Bauer shot a new video showing how he uses Orange Clip 3 on an EDM mix.
Instead of just running it on the mix bus, Craig puts Orange Clip 3 to work in multi-band mode on the kick, snare, and hi-hat.
Craig calls Orange Clip 3 a “non-negotiable” tool in his mixes.

You know that endless debate about DAW “sound”? The one where half the internet swears Logic sounds different from Pro Tools, while the other half rolls their eyes and screams “32-bit floating point math is math!”
Plot twist: They are both right. And both wrong.

I sometimes get a lead single that sounds drastically different from the rest of the project. Maybe it was mixed by a different engineer, or just labored over with more detail and intensity. And sometimes, I’m not even told the song is part of a full-length project. Then, weeks later, the rest of the EP or LP shows up—and it’s tough to match tone or loudness because the new material feels completely different.

In our recent emails, we explored how to simplify equalization by working with octaves. If you missed them, you can check out the full breakdown here, where I go through all 10 octaves and share practical tips for approaching each one. But EQ decisions aren’t just technical—they’re shaped by how we hear sound, how listeners interpret it, and our own personal preferences. Balancing these three factors is key to crafting a well-rounded mix, yet it’s often one of the biggest challenges in mixing and mastering.

You have heard me say this before, but as engineers, we tend to overcomplicate things. Occam's Razor suggests that the simplest solution is always the most effective.

This is the first of a three-part email series designed to simplify your approach to EQ and help you make better mixing decisions.
We measure sound frequencies on a logarithmic scale in Hertz (Hz), or cycles per second. While essential for describing audio, this unit can feel abstract and disconnected to how we think about and create music. For example, a frequency of 100 Hz means a sound wave vibrates or oscillates for one full cycle at 100 times per second.
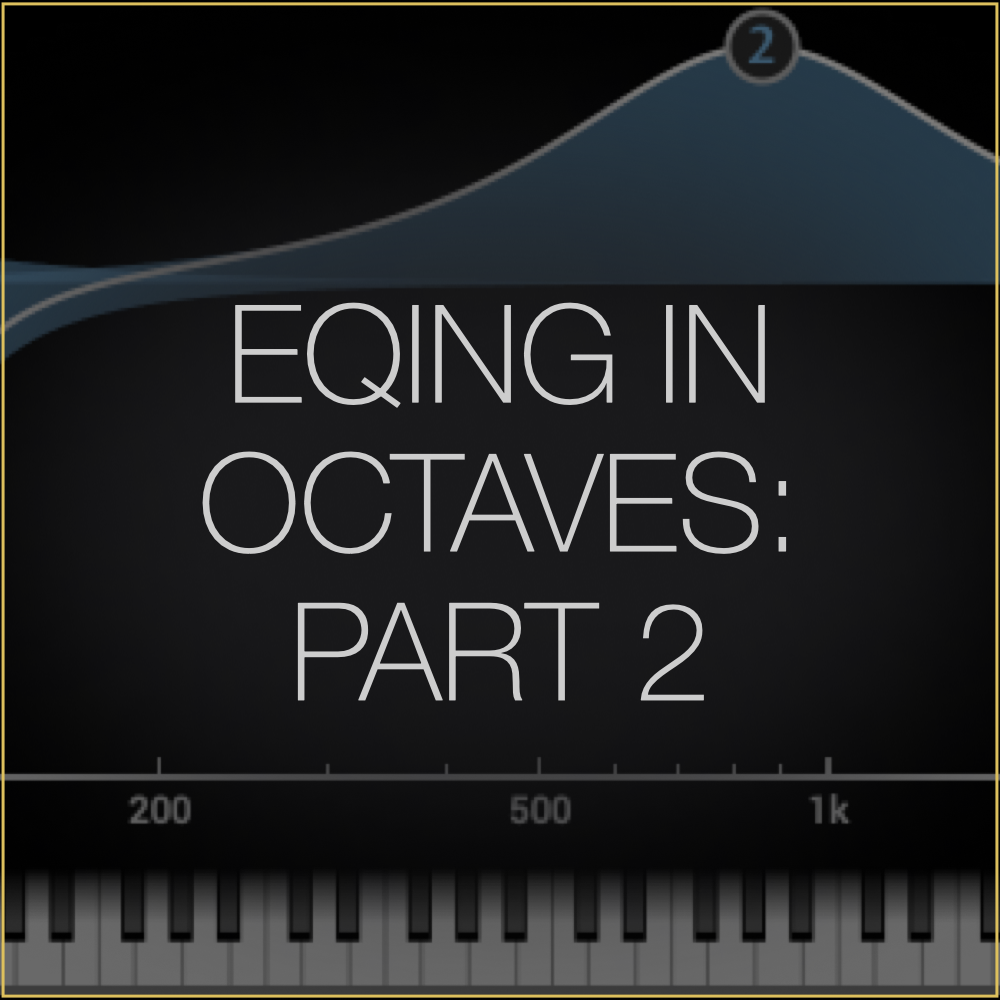
Last time, we explored how thinking in octaves can simplify your EQ process, making it feel more musical and intuitive. Today, we’ll take that concept further by dividing the 10 octaves into 5 key frequency bands—low, low-mids, mids, high-mids, and highs—and discussing how each band shapes our perception of sound. This week, we’ll focus on the first three bands and cover the remaining ones next week. Conveniently, each of the 5 bands spans roughly two octaves. Let’s explore them.

Last week, we explored the lows and mids—the fundamental frequencies that give your mix its weight, warmth, and power. Today, we'll focus on the high-mids and highs, where brightness and articulation live. These frequencies are crucial for bringing excitement and clarity to your mix, but they require precise placement to avoid harshness. Let's talk about how to craft a top end that's clear, balanced, and musical.

I am a minimalist at heart. I want processors that are simple, direct, and powerful. As engineers, we can quickly overcomplicate things.

A while back, I had the pleasure of being interviewed by the legendary author Bobby Owsinski on his podcast,

Back in March of 2024, I did an interview with Devvon Terrell, L.Dre, and Courtney Taylor of the Help Me Devvon / Audio Nerds podcast…

A few weeks back, my friend Ken Lewis asked me to make a video about how I use Gold Clip and Orange Clip for his Mixing Night Podcast. I decided to throw that video on my YouTube page and share it with you.

As a mastering engineer, I’m often handed mixes that are already limited or clipped. These loud, finalized mixes can be tricky to work with because there’s often very little headroom or transient detail left. What I do as a mastering engineer involves envelope or dynamic shaping just as much as balancing, sweetening, and preparing a mix for distribution.

It is coming up on a year since my Grammy nomination for Best Engineered Album, Non-Classical for mixing and mastering Baynk’s Adolescence. When it happened, I was attending the Audio Developers Conference in London on November 12th, 2022.

You never know whether a record you are working on is going to be a hit or not. I have tried to predict it and sometimes I was right, but most of the time I had no idea what was going to catch the attention of the world. Honestly, when you start working on a record that turns out to be a hit, it doesn’t feel very different than what you have done before.

Mixing and mastering records for a living means that you will be working long hours, and those hours often bleed into your personal life…
No, you don't need true peak limiting.
Here is the alternative:
Do not slam everything against 0.0 dBFS → leave a tiny amount of headroom → use that headroom to rebuild transient detail → put a safety limiter at the end.
Curious how that can work? Read on.