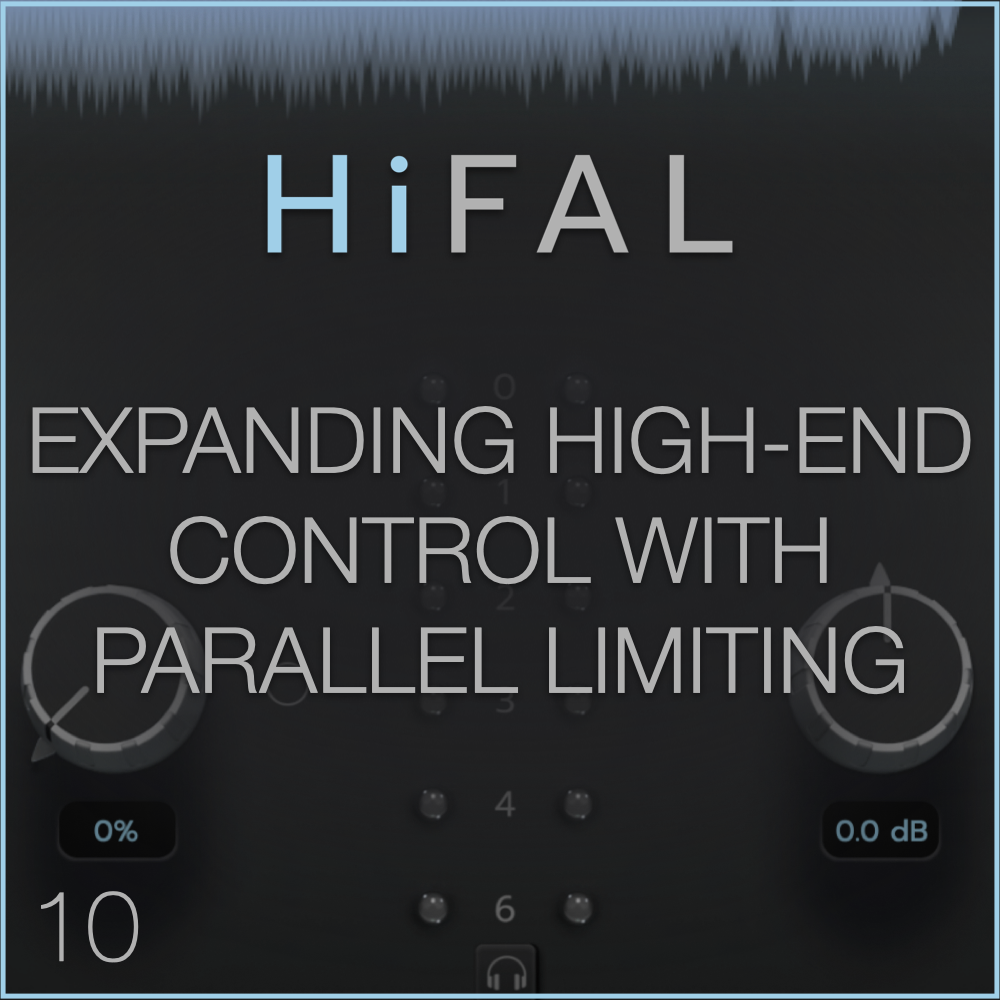
06) Gain Reduction Meter & Delta
Visualizing gain reduction can strongly influence how we make decisions while listening. Since visual perception often takes precedence over auditory perception, the way an effect looks, especially on meters, can shape how we hear it and how we use it in a mix or master. This mismatch in perception is similar to the McGurk effect, where what we see can actually override what we hear.
During HiFAL’s prototyping, we initially used a large, traditional-style variable meters similar to those in most modern plugins. But I found they led me to work more conservatively than I would with the analog counterpart. It became clear the GUI needed to reduce visual dominance and encourage more confident, intuitive use of the limiter without letting the eye override the ear.

That insight led to the creation of HiFAL’s stunning continuous illumination gain reduction meter, a visual design that lends more dominance to the ear than the eye. The continuous illumination meters intentionally limit the visual representation of high-frequency limiting, providing just enough feedback to guide you while encouraging you to work predominantly by ear.

As the first bulb begins to illuminate between the 0 dB and 1 dB mark, you’re applying up to 1 dB of limiting. When the 0–1 dB light is fully lit and the next bulb starts to glow, you’re entering the 1–2 dB range of gain reduction, and so on.
You can think of these lights as representing different attack and release times. The first light is extremely slow, allowing all natural transients to pass without interruption. As more lights ignite, the attack and release become progressively faster. This allows HiFAL to control only the most egregious transient spikes while leaving all others in their natural state.
In Practice:
When working with HiFAL, I set the threshold so the 0 dB light just begins to illuminate during moderately loud sections. This provides gentle control over overall brightness without altering transients, while still allowing HiFAL to respond more aggressively to sharp or pokey elements when needed. At this setting, makeup gain is usually unnecessary. In mastering, I use the Trim to adjust brightness relative to other songs on the album. In practice, the Threshold determines the amount of control, while the Trim shapes the tonal balance of the master.
Delta
HiFAL’s Delta mode lets you hear the difference between the input signal and the processed output of the Main HiFAL only. Instead of monitoring the full mix, Delta solos the content being reduced by the limiter—highlighting the high-frequency information HiFAL is controlling.
Listening to the Delta signal can be useful for inspecting how much limiting is occurring and which frequencies are being affected. You might hear sibilance, harsh transients, or high-end build-up that HiFAL is taming.
However, the Delta signal is intended for inspection only. It should not be used to make musical decisions, as it doesn’t represent the full context of the processed signal in the mix.
It’s important to note that the Delta button bypasses the Parallel Limiter. This is because the Parallel Limiter signal is additive, while the main HiFAL process is subtractive. Auditioning both processes together in Delta mode is often unhelpful. If you want to isolate the Parallel Limiter’s contribution to the mix, use its dedicated Solo button below the Parallel fader.
In Practice:
Delta wasn’t part of the analog workflow. Engineers didn’t obsess over what was different—they listened to what worked. I recommend doing the same here. The difference signal can pull your attention away from the music and toward technical distractions. Like the McGurk effect, Delta can make you second-guess settings that actually sound right in context. It often leads to dialing things back that your ears had already approved. My favorite way to use Delta on HiFAL is to apply moderate gain reduction, switch to Delta mode, and rotate the Channel Link control. You’ll hear exactly how HiFAL shapes the stereo image. The high-frequency gain reduction stays smooth and natural, but once you start adjusting the Stereo Link, the imaging shifts become very obvious.
Be well,
Ryan Schwabe
Grammy-nominated and multi-platinum mixing & mastering engineer
Founder of Schwabe Digital